Windows Application Hunter
Click the black crosshair icon on the icon bar - it will open the Windows Application Hunter control window.
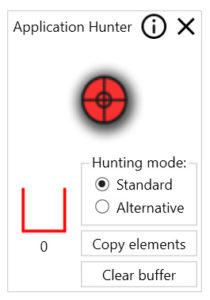
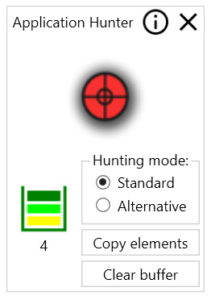
This window contains a large red crosshair symbol, a symbolically presented container for hunted items (with a counter) and buttons for selecting the Hunter operating mode, copying the hunted items to Wizlink® and a button to delete all hunted items.
Open the document in which you will hunt.
Click upon the red crosshair symbol and keeping the left mouse button pressed start to move the mouse over the application window. If a chosen element can be hunted – the rectangular area in which it is located will get an orange frame. Then release the mouse button. The hunted item counter will increase and the hunted item symbol will appear in the container.
If the selected element has not been marked in orange - change the hunting mode to "alternative" and perform the operation with the mouse again (remember to keep the left mouse button pressed all the time!).
You can remove unnecessary / incorrectly hunted items from the container in the Application hunter window at any time by pressing the Clear button (all the content of the container will be deleted at once).


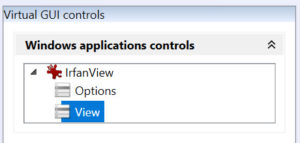
You can hunt any number of elements in the document. Then press the Copy button. At this point the counter is reset to zero. The hunted items (so called controls) will be transferred to Wizlink® Designer. They appears in the Windows application controls section of the Virtual GUI controls tab. The controls are grouped due to the original name of the application.
From now on your controls are safe, if you save the scenario and close it - the controls will be in place when you open it again. But first you should name your controls to make them easier to use in the scenario. Right click every control and name it simple and meaningful (like: address, first name, street, email, product1, and so on).
